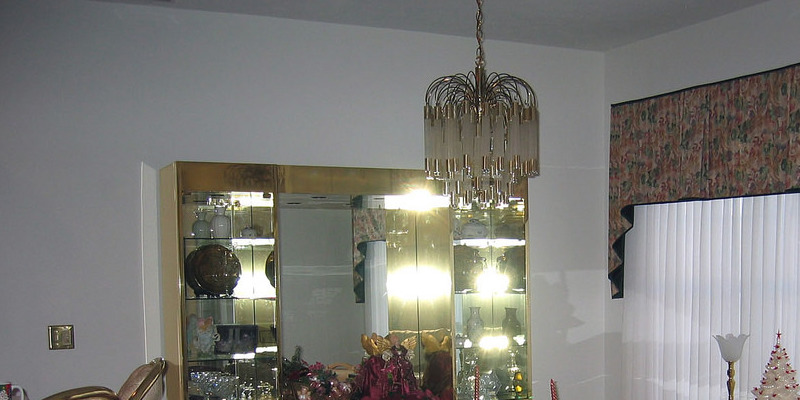
The best way to Lacquer Walls
Lacquer is usually applied to partitions coated in wood or created with organic wood. To get a lodge or rustic decor that maximizes the natural splendor of pine, or on media room or den wall which is designed with panels that are raised or paneled wainscoting, lacquer is the the conclusion of selection. Lacquer is really simpler to use than paint. It’s dries quickly inexpensive and finishes into a smooth, tough gloss that arrives medium in egg-shell or large -gloss. When you just want to re-finish current lacquered partitions, or want to update a house with wood partitions, it is possible to do a medium-sized area in one afternoon.
Fold a bit of 180-grit sandpaper 3 times. Palm it in sand and your hand the wall easy utilizing round designs that are overlapping. Run your fingers on the wall. Sand them off, in case you sense any tough places.
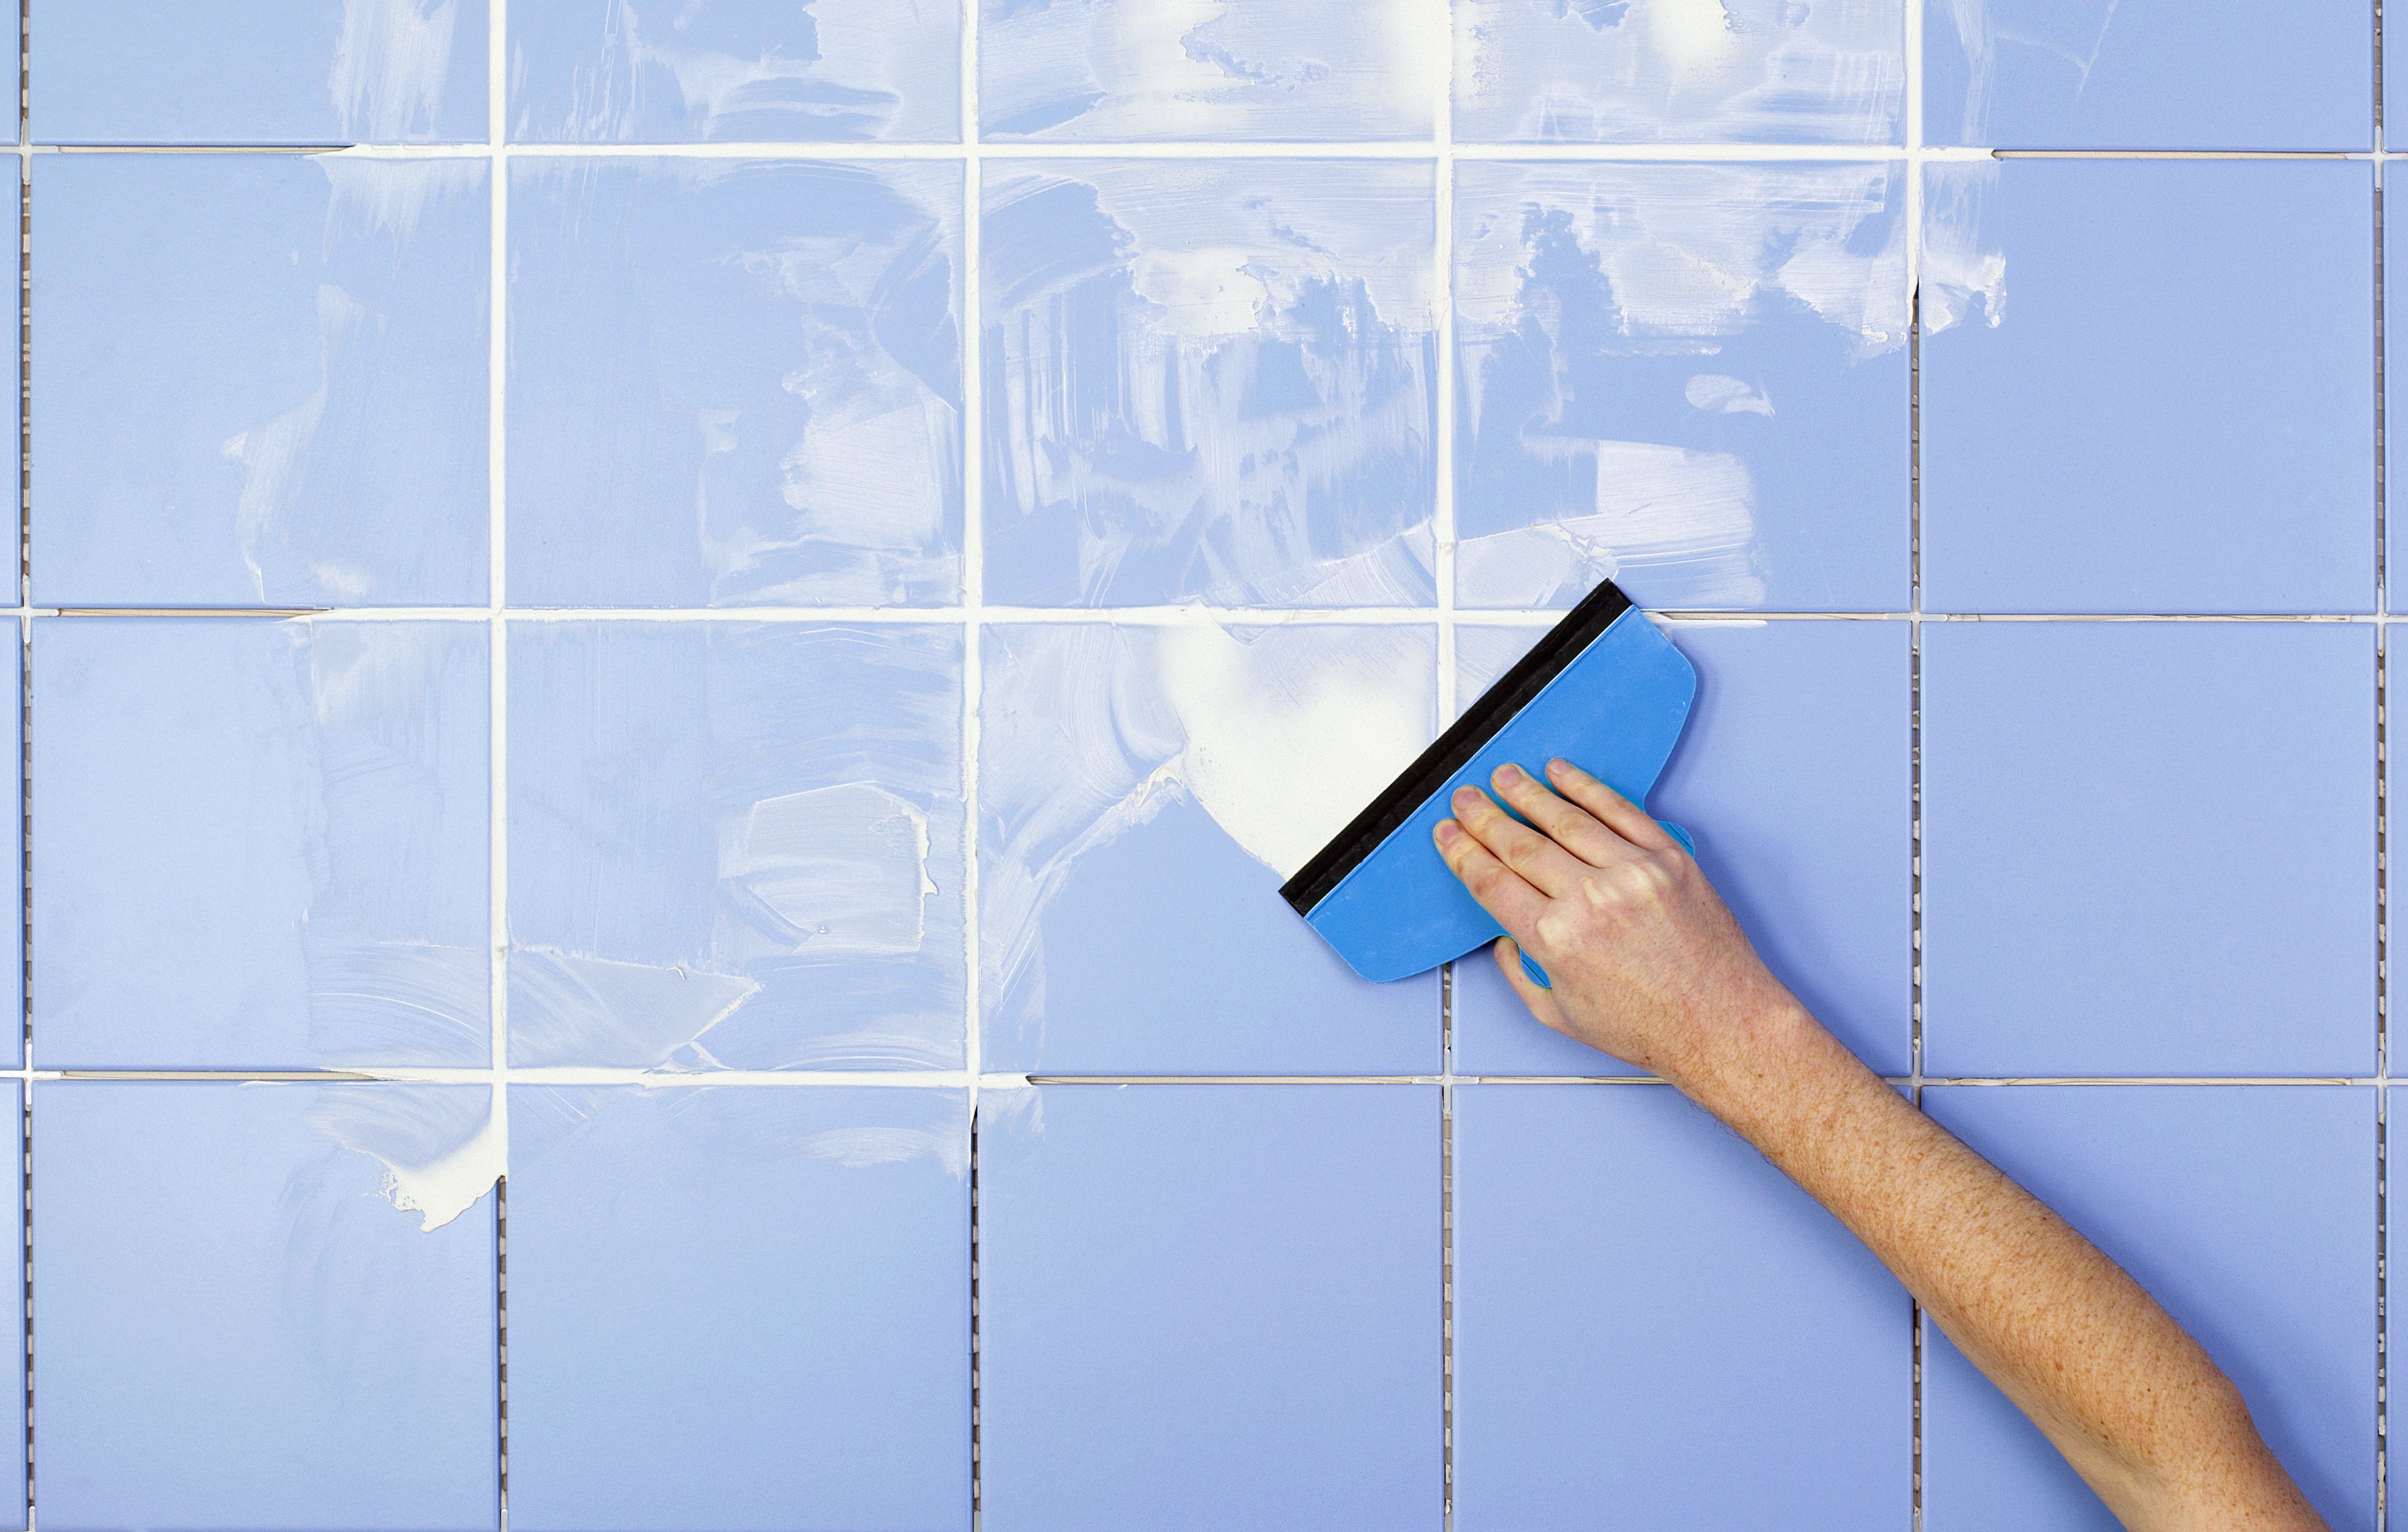
Fill a spray-gun canister. Using a spray-gun using a lacquer suggestion, come from the corner. Hold the tip of the gun 8″ in the wall and spray a damp band of lacquer up the wall from ground to ceiling in one easy motion without halting. Another band down the wall, overlapping the band by 1-inch.
The whole wall overlapping each band that is moist as you transfer over the wall. Wait 30 minutes for the lacquer to dry.
Fold a bit of 180-grit sandpaper and sand the wall as you did. If you are finished, the wall should possess a mild-white powder onto it. This is lacquer dirt. Do not take it off. It supports curing the coat.
The wall as you did before, overlapping each band that is consecutive until the whole wall by 1-inch is damp with lacquer. Wait one hour for the lacquer.