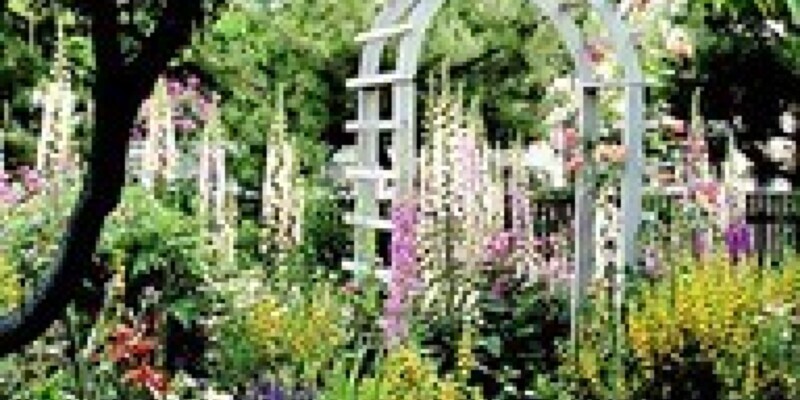
Hardy Tropical Shrubs for your Shade
The tropical shrubs you pick for your garden can originate from a multitude of nations, such as China, the Philippines and India. When many shrubs require sunlight to thrive or blossom, some kinds of tropical shrubs can handle the North American climate and develop well in a shady environment. The key to keeping many tropical shrubs healthy is to maintain their soil consistently moist without overwatering.
Rose of Sharon
Rose of Sharon (Hibiscus syriacus), a part of the hibiscus family, is a deciduous tree that does well in part shade. It tolerates soils that run the gamut from good to poor, and blooms in a wide assortment of colors — mostly lavender white or pink. You’ll be able to enjoy the blooms starting in summer, right until the first frost arrives. To maintain this shrub in shape, prune in February before new growth appears.
Crape Jasmine
Another shade-loving tree is that the crape jasmine (Tabernaemontana divaricata), which originates from India but does nicely in U.S. Department of Agriculture plant hardiness zones 10 and 11. It will rise to a height of about 5 feet and does well in part shade. The white flowers contrast beautifully with the deep green, shiny leaves. Crape jasmine blooms from spring up all during the summer and into autumn.
Fatsia
Fatsia (Fatsia japonica) is best suited for USDA zones 8 to 10. It’s a vibrant tropical appearance but is also cold-tolerant to 10 degrees Fahrenheit. Normally, the fatsia shrub will grow to a height of 6 to 10 feet with a similar width. Foliage is dark green and shiny, and the leaves reach 6 to 14 inches wide with 7 to 9 lobes on each leaf. Fatsia grows nicely in even deep shade and will still reward you with breathtaking white blooms which grow in round clusters.
Sanchezia Speciosa
The Sanchezia speciosa tree comes from the rainforests of Ecuador, Brazil and Peru. Growing to a height of 6 to 8 feet, it thrives in the sun and shade, and will even flower in shade only. The blooms keep coming all year long in a series of delicate, red flowers with bright-yellow stamens that strayed out from the blossom. They grow best in USDA zones 10 and 11.