The best way to Create a Receding Mild in a Ceiling
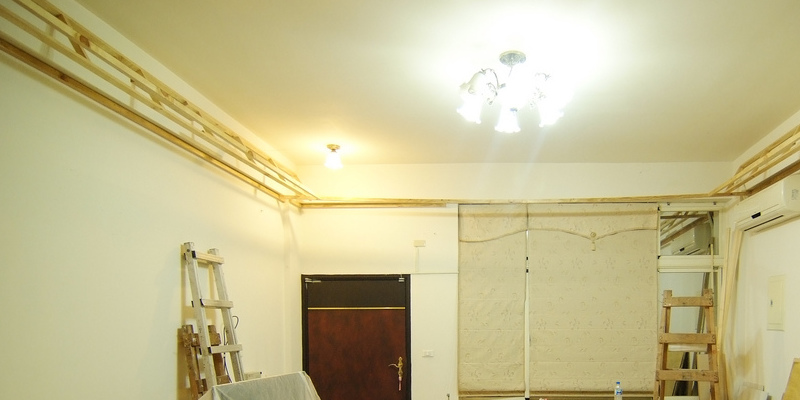
Home-owners have several choices when it comes to lighting a chamber; base lamps and monitor lights are common options for nighttime that are dark. Nevertheless, illuminating a chamber without impeding the the area usually needs receding, or recessed, lights. These fixtures fit to the ceiling, instead of hanging down from it, which saves ceiling area and headroom. Creating a light that is receding right into a ceiling needs use of the electricity cables of an earlier light fixture, including a previous chandelier setup.
Shut off all electricity in the primary electric panel to the electricity cables of the aged fixture. Make use of a non-contact circuit tester in the panel to confirm that no energy is going through the circuit.
Put a ladder below the setup point that is planned. Climb the hierarchy and make a tiny hole in the ceiling of about a quarter-inch using a power drill. Flash the beam within this hole to check there are no obstacles, including ceiling joists of a torch. Scale down in the ladder.
Assess the opening of the canister using a measuring tape of the light. Quantify this space that is same across the hole by climbing on the ladder in the ceiling. Mark the space on the ceiling using a pencil.
Cut to the ceiling using a power observed along the space that was noticeable. Develop a circle or square-shape, on the basis of the configuration of the canister model’s.
Visually find the previous electricity cables living in the ceiling. Pull down the cables so they may be hanging through the recently hole. There needs to be three cables for one-light fixture, usually black, white, and earth (green).
Hold the light fixture together with your hands or put it on the best action of the ladder. Join the black cable to the exact same colour cable on the mild by twisting the ends together with a little pair of pliers or your fingers. Duplicate the wiring connection procedure for the floor and white wires.
Solder the twined connections having a soldering iron and solder together. Roll together the connections with electrical tape later.
Press on the light that is receding to the ceiling hole together with your hands. Be certain the cables will not be crimped as the goes up.
Attach with a screwdriver to the canister and ceiling connection. Each manufacturer uses another fastener kind. Consult the guide of the light’s for precise fastener variations.
Press on the trimming cover of the fixture onto the light canister that is bonded till it snaps into position.
Turn on the circuit-breaker in the electric panel to bring back electricity to the fixture. Add a lightbulb to the newest light that is receding and evaluation for illumination.